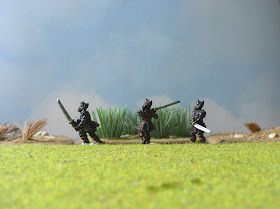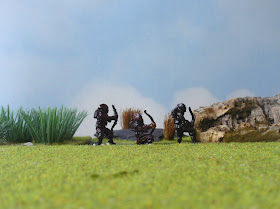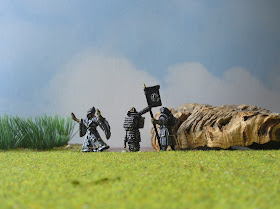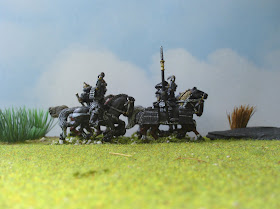

Tuesday evening saw a vicious encounter in Egypt between the forces of Marcus Antonius (red) and those of Octavius Caesar (blue), the latter of course led by Agrippa. The Octavians deployed their (elite!) legionaries in classic two-line checkerboard (Billy commanding), with heavy cavalry on their left (William) and lighter troops on their right (Simon):
E1: Eagle Cohort, Legio I (16 figures in two ranks)
C1-C9: Cohorts, Legio I (8 figures in two ranks)
E2: Eagle Cohort, Legio II (16 figures in two ranks)
C10-C18: Cohorts, Legio II (8 figures in two ranks)
Ill: 18 Illyrian Light Infantry in two ranks
N1-N3: 8 Numidian Light Cavalry in two ranks
T1 and T2: 12 Tribal heavy cavalry in two ranks.
R: 16 Rhodian Slingers
J1 and J2: 12 Javelinmen
The Antonians deployed their central two legions in already reinforced cohorts, creating a long line of sixteen-figure units, in an attempt to make up for their inferior militia quality. Graham commanded both legions. I was looking after the two flanks. On the left, our Light Infantry were hidden in rough ground, and on our right we had the Egyptian contingent of two medium phalanxes and the cavalry:
L1 and L2: 10 Cohorts each of 8 figures, reinforced to make 5 16-figure units each in two ranks
P1 and P2: 32 Egyptian Phalangites in four ranks
Pe1 and Pe2: 12 Light Infantry in two ranks
C1: 18 Cleruchs Medium Horse in two ranks
C2: 18 Cleruchs Medium Horse in three ranks
T1 and T2: 8 Tarantine Light Cavalry in two ranks
A1 and A2: 10 Skirmish Archers
J1 and J2: 12 Skirmish Javelinmen
Our plan was simply to wait and see what developed, hoping that an opportunity would present itself. Unlike standard units, which simply rout when they reach a specified breakpoint based on morale rating, a Roman legion of this period has special rules to reflect the ways in which they fought. Tactica II allows various individual unit options for the cohorts; the important thing is that a cohort is destroyed only when all figures are killed, and the legion as a whole routs when it reaches a breakpoint based on its overall morale level. The combination makes Romans very tough indeed. I wasn't expecting Simon to pick two elite legions at full strength of 88 figures, each needing 66 losses for us to break them. Our legions had 80 militia grade figures, each needing only 40 losses to rout. Of course, what we lacked in quality we hoped would be compensated by quantity.
The plan worked, barely. The Caesareans advanced purposefully, extending their right legion by moving its Eagle Cohort from its reserve position, swinging it right. However, opportunities presented themselves on both flanks for us at roughly the same time. On our left, our Light Infantry appeared from the rough, forcing the Roman rightmost light troops to retire before re-aligning. This gave our left legion a temporary overlap against its opposing legion. On our right, the Caesareans similarly swung their second Eagle Cohort to their left behind their cavalry. I charged their cavalry with our Cleruchs in order to keep them pinned, with the Egyptian Phalanxes attacking as well, then followed by the second Legion. Melee became general across the field. We won by destroying all of the Caesarean supporting troops and the Legion facing Graham's overlap, although not before our own second legion collapsed. When the dust settled, not much was left of either army...


 I Legio Principes to go with the Hastati I've already painted. These 1st Corps figures have some touches that I really like. The standard bearer has a lion skin; the Hastati standard bearer wears a bearskin. There are two different standards, one of which has a small eagle part-way down the shaft as opposed to the discs the guy in the picture above has on his. There are also two kinds of throwing spears, one of which is meant to be the slightly lighter one for the initial volley, to be followed by the heavier one with the square weight behind the shaft. For the Principes, I've chosen to place the heavier one in the left hands behind the shields. The good thing is that all these slight variations plus the several different poses make the Romans a little bit less uniform; it certainly makes them less of a chore to paint. This is going to matter, because I'm planning to do four legions of them, and one can quite easily become bored if that number of figures are too similar. I have a large Seleucid army, and after a while all those pikemen became rather tiresome to finish, even when varying the paint schemes as much as possible. I've scheduled myself to paint a couple of dozen legionary figures every two weeks, which is within my budget. It will also allow me to finish the legions for the first time we put on the game in April next year - I'm in for the long term grind...


