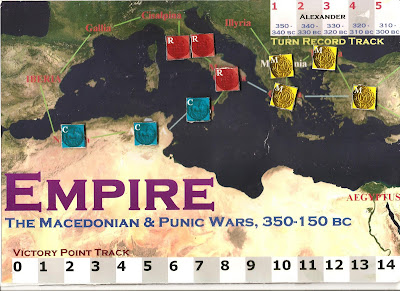
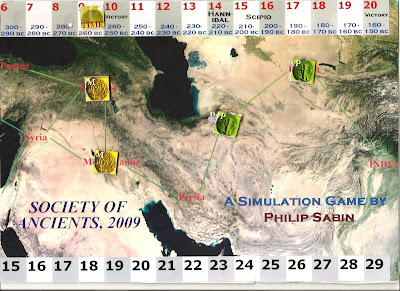
On Tuesday we played the first battle of Empire Turn 9 in our ongoing Ancients campaign. The Carthaginians were trying to take Iberia. I'll use the present tense from now on; it's more exciting that way. Terrain consists of a couple of rough patches on the Iberian left, and some rolling hills in their centre. Deployment map:
|
| Carthaginian plutocrats at top of map in blue; Iberian freedom fighters in red |
Simon constructs the Carthaginian list and he and Marco deploy the army. Marco commands the right half, Simon the left. From the top left as you look at the map:
- Right wing: a unit of 12 Gallic Medium Cavalry; two 24-figure Gallic Warbands in column; and two units each of two smallish elephants. 16 slingers out front.
- Infantry centre: a huge block of 48 Sacred Band elite spearmen in four ranks; two units each of 24 Scutarii in two ranks; and another large unit, 48 Italian medium foot in four ranks. Two units each of 12 javelin skirmishers out front.
- Left wing: 12 heavy Punic horse; 12 Gallic Medium horse; a reserve of 12 Elite Punic Noble Heavy Cavalry; and four units, each of 12 Numidians, in two waves.
I work out the Iberian army and its deployment. Billy plays our left wing, David the centre, and I run the right:
- Left wing: 2 units of 8 light horse thrown wide; and lurking beside a patch of rough ground are 12 Medium Cavalry and 18 Caetrati (deployed wide in two ranks). There are also 8 screening (screaming?) slingers.
- Centre: three units of 36 Scutarii interspersed with two units of 36 Celtiberians, deployed on rolling hills. There are two units of 12 javelin skirmishers offset to the right somewhat.
- Right: two units of 18 Caetrati alternating with two units of 18 Medium Cavalry, all in column. Out wide are two units of 8 light horse. This wing has two units of 8 slingers and a unit of 12 javelin skirmishers as well.
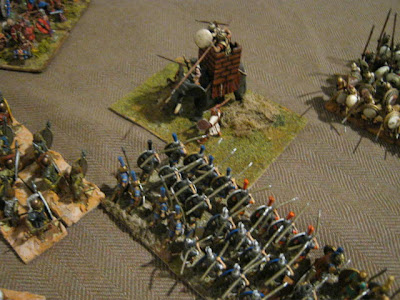
I'll try to keep the narrative comprehensible by using photos and captions. The pictures are all taken from the Iberian side of the table, since that's where I was playing. Figures are by all sorts of manufacturers (25mm), and the Iberians are mostly a mix of Minifigs Romans and Essex Greek type cavalry. I don't have enough figures for an Iberian army, but they'll do for a club evening. Strangely enough, when other folks wander across they don't even notice this anyway.
|
| The Carthaginians advance their Scutarii, while the elephants and elite spearmen lag behind somewhat. |
 |
| In the foreground, the Iberians advance from the safety of their hills, leading with their right. We feel that we have enough weight in the centre to be able to give the relatively shallow enemy Scutarii a hard time. |
 |
| On the open cavalry wing, the invading money grubbers advance en masse. The glorious sons of Iberian freedom counter by advancing some of their troops a bit. I hang back with our outnumbered light horse, hoping that the combination of large units of Medium Cavalry and Caetrati will win through local superiority. |
 |
| A longer, angled shot of the continuing Carthaginian advance on our left and left centre. |
 |
| A close-up of the action on our right. |
 |
| The Gauls close on our left |
 |
| The infantry lines start hurling insults. We have a stroke of good fortune at this precise moment as the unit of Celtiberians in the centre foreground keeps its cool and waits for support to come up from the left. |
 |
| Lots of fighting at our centre right |
 |
| A close-up of the action here. The Carthaginians have an overlap advantage on our Celtiberians, while we have one on their large unit of Italians. Which will crumble first? |
 |
| On our right, we start to make headway, and then a unit of medium cavalry gets carried away and charges forward into the arms of the waiting Numidians. Who promptly flank them , as is their wont. |
 |
| The moment of truth is about to arrive: the Sacred Band and the elephants close with the Iberian left centre. |
 |
| The Warbands threaten our leftmost cavalry and Caetrati. But that's all they do: threaten. Both Warbands fail their morale tests to press home against a mounted unit. Our left flank guard has bought us an extra turn here. Off camera to the left, the Gallic cavalry are happily destroying our light horse, but are now on the wrong side of the rough. |
 |
| The elephants hit our Scutarii. At the same time, to the right of this shot, the Sacred Band attacks the Celtiberians. |
It is all in the balance. And then, in very quick succession:
The elephant in the shot above routs right beside the Sacred Band.
The Sacred Band fail their morale test and are then routed by the Celtiberians.
The two units of Scutarii in the centre of the Carthaginian line are destroyed.
The large unit of Italians is wiped out.
Almost all of the Carthaginian heavy cavalry routs.
The Numidians fail to break our light horse and Caetrati.
Game over, in just over a turn. It goes from close to a massacre as the invaders fail just about every morale and combat test they possibly can.
Next up: the grinding Romans grind their way into Sicilia and try to remove the Carthaginian presence there.


.png)

.jpg)


.jpg)


.jpg)


