Sunday 31 March 2013

Successors Yet Again

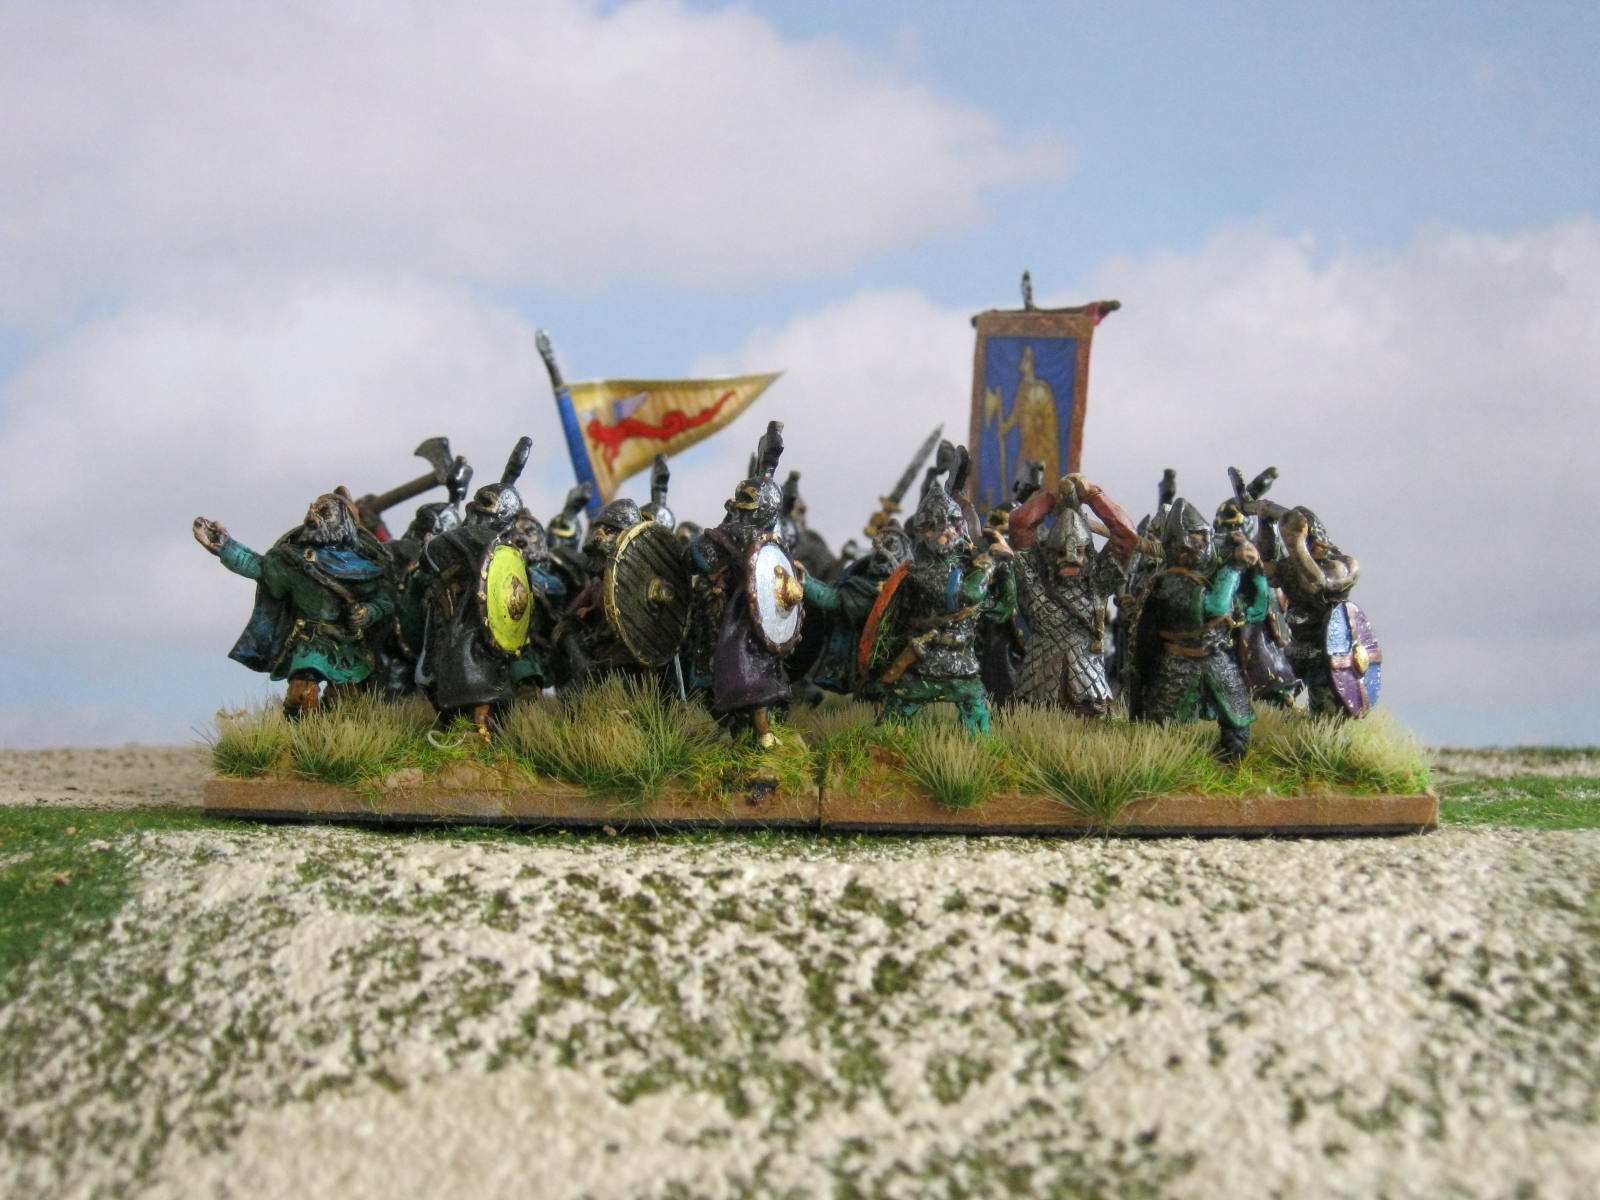
Yet another Successors clash in the Empire Campaign as the Ptolemies attack the Macedonians.  The lights had been repaired at the club, so this time I was able to take some photos.  The two sides set up pretty much as standard: central phalanxes with mounted and/or light troops on the wings.  The Macedonians had a symmetrical deployment, while Ptolemy led with his right (a powerful cavalry force here) and relied on a load of nellies to hold his left, next to the foot guards.
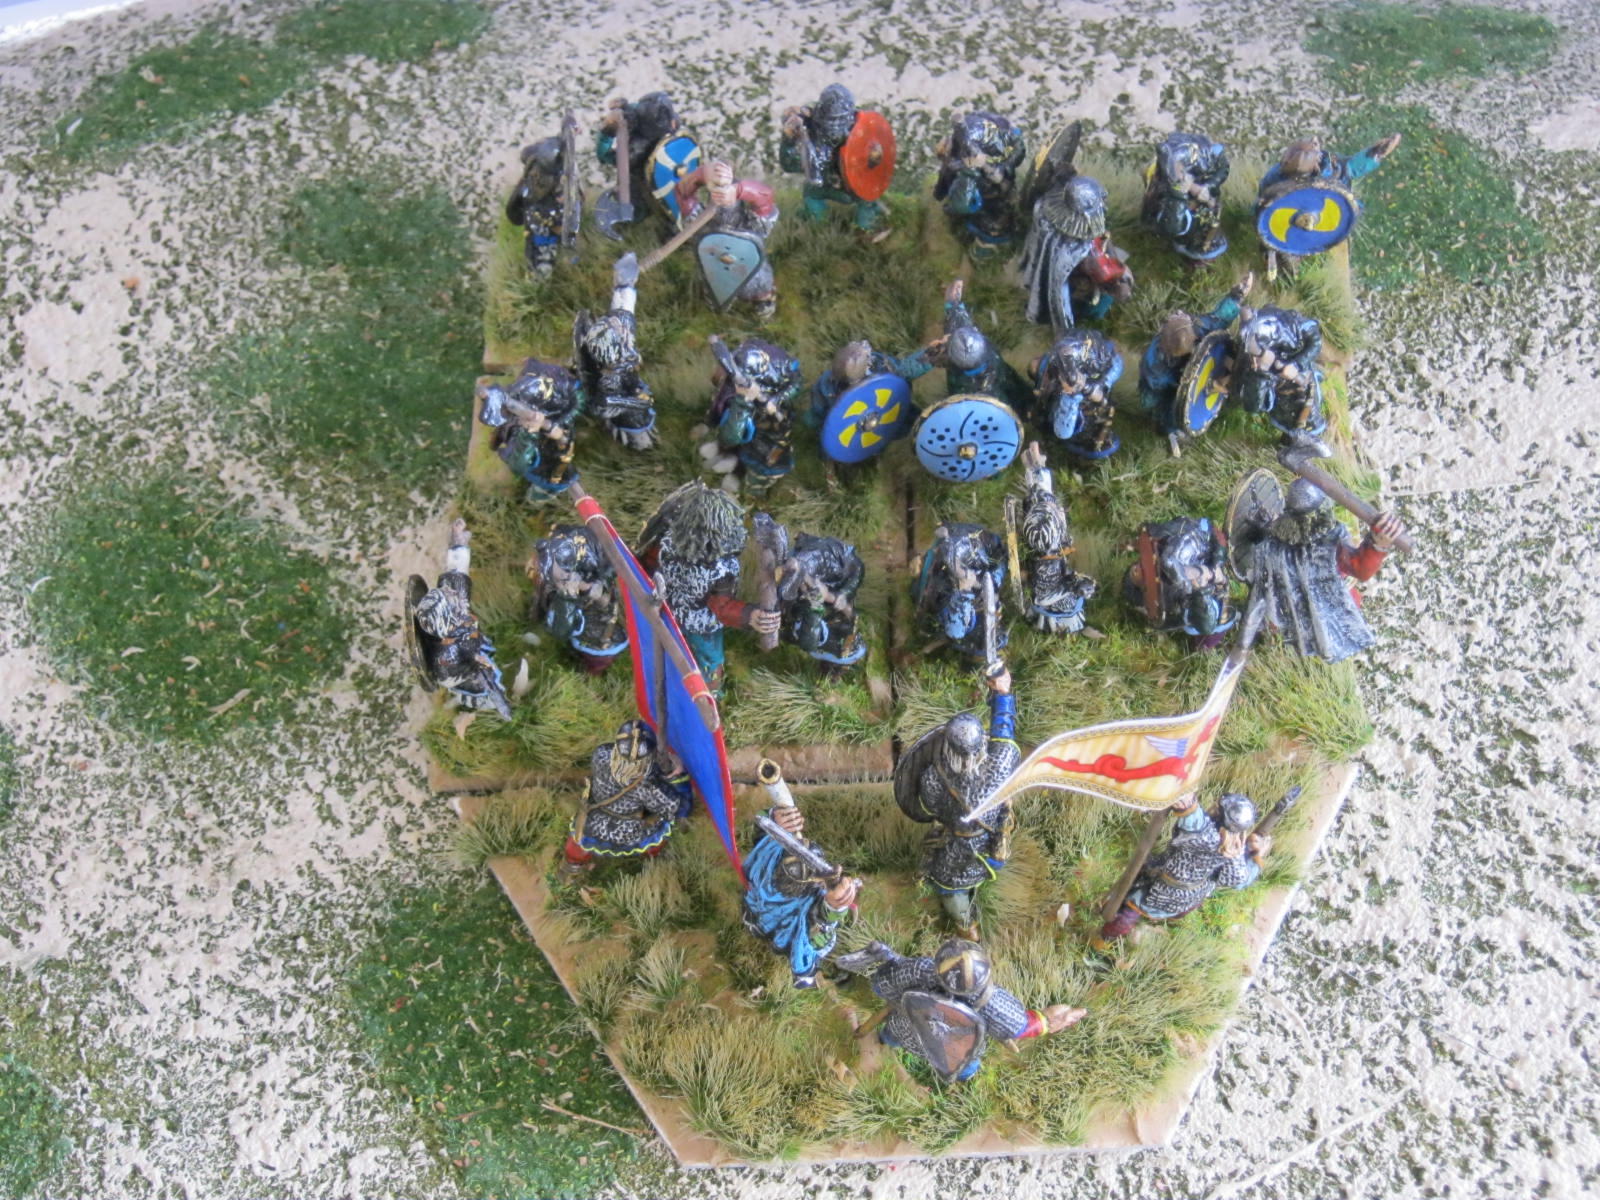
The first photo is an angled shot of the Macedonian phalanx, bristling on a nice hill.
Next is a picture of the left of the Macedonian line (Gordon commanding), menaced by a large unit of elite lancers supported by light and medium cavalry (Simon as a Ptolemy).
I ran the right wing of the Macedonians.  I intended to use my superiority in light troops to remove the skirmish screen from the enemy elephants and then trash them with missile power.
My lot ganged up on the hapless enemy archers.
The archers having been disposed of, my light troops showered the elephants with javelins and slingshot.  The elephants nearer the camera took loads of hits.
The remaining elephants charged my light troops, only for disaster to strike the Ptolemaics.  The badly damaged elephants were immediately destroyed.  They then routed directly into their friends, which routed in turn into the foot guards, disordering them in turn.  The entire flank guard collapsed ignominiously.
My guards then charged in, just to add insult to injury.  On the other wing, Gordon's forces cancelled out the enemy heavy cavalry, allowing him to pick off the end phalanx units, which turned out to be Egyptian conscripts.

A bit of a disaster for Ptolemy, then.  Afterwards, we counted the points and it turned out that I had overbuilt the Macedonian army by a phalanx's worth.  I used the same army as before, taking it from an earlier battle description in which I wrote by mistake that the Macedonians had six phalanxes when in fact they had five.  It wouldn't have mattered, though, because the morale collapse caused by the elephants was so spectacular.  My turn to be a numpty...

Next up in the campaign will be a Macedonian attempt to restore the shattered lines of communications in their territories by destroying a rebellion in Thrace.  They need to re-establish control of the Bosphorus.  Before that, though, we have Chalons...

Friday 22 March 2013

Normans win again

We replayed Hastings on Tuesday at the club; no photos because it was too dark.  This is just to remind myself of the bit that mattered: the revised scenario rules worked well, making it a better game, especially for the Saxons.  The smaller Norman cavalry contingents worked well too, although one player (Willie) commented afterwards that it was a bit more difficult to keep track of the greater number of individual units.  The Normans won on turn 9 of a maximum 12, but it was close.  They were beginning to make serious inroads on the two Saxons wings, especially since Gyrth on the Saxon left came charging off the ridge early on.  This caused Harold to order a general advance in the centre, but he went down fighting in the midst of the mass of Norman foot.  The Normans lost seven units and my guys on the Saxon right killed the newly painted commander of the Breton contingent in his first battle; in total, the invaders lost eight of their eleven break points.  I think that if Harold hadn't died the Saxons would still have lost, but it would have been even closer.  Mark is going to do the write-up for the Society of Ancients, so I'll need to send him my scenario-specific rules modifications at one point.  Willie thinks it would make a good convention game - we'd just need to produce some decent looking terrain.  Maybe a project for another time.

Next up is a campaign game, Successors pikes, on Tuesday.  After that is our practice game of Chalons - I'm busy painting the command bases for that now...

Sunday 17 March 2013

Hastings: Norman Commanders

Mostly by Crusader Miniatures:
A group of four to represent William the Lucky Bastard and some pals.
I can't decide which of them is the Duke, but then you can't really tell until he takes off his helmet.
His brother Odo (he's the one on the right as you look at it).  I don't know which manufacturer made this one; I bought him from Simon along with a load of foot and cavalry a long time ago.
I've touched up Simon's old paint job, especially the nicely hand painted shield.  Me, I stick with Little Big Men shield and banner transfers...
The third group will command the foot in the centre of the Norman army.
I made this another mounted base, because no Norman commander is going to get off his horse if he can help it.
Last, but not least, we have the Bretons.
The banners are large, so I ran some paint along the edges to try to weather them a bit and disguise my ham-fisted attempt to fit them properly.  I then sealed them with Dullcote to protect them.  It remains to be seen how they fight!

Monday 4 March 2013

Welcoming Monty and Vicron

Just saying hello, really, and thanks for joining in.  Monty's blog is here; at the moment he has a lovely Egil, one of my favourite saga characters.  Go and have a look and you'll see what I mean.  I'll link in with Vicron at one point, if I can - blogger can be rather odd when it comes to finding people's blogs...

Sunday 3 March 2013

Hastings: Saxon Command Bases

Three bases for the good guys at Hastings, each representing one of the Godwinson brothers along with a few friends:
First up is a standard square base with three figures.
Men by Gripping Beast, transfers and banners by Little Big Men Studios, as always...
The second base has four figures, along with a larger banner.  The guy on the left has been eating all the pies!
The two banners in these groups have white stripes in between the coloured ones.  I think the white ones are meant to be cut out, but I left them the way they are.  My figures see quite a lot of travel and rough handling, so making too many tiny streamers would be tempting fate,
The grassy stuff is by Faller, intended for model railway layouts.
Finally, we have the man himself, with a Wessex Dragon standard and his personal banner.  I decided to make Harold's group really stand out by giving him two flags - nice and colourful that way.
The Harold figure is quite large, but he seems larger here than he is in fact, because the base is leaning slightly forward.  Anyway, the King should tower over everyone else.
I gave Harold a shield transfer from the Breton set, because he has a kite shield.
This one and the previous base are shaped slightly differently from my usual square or round ones.  Basically, I've based each of the larger groups on half of a large hexagon as a bit of an experiment.  I hope the top-down shot shows what I mean.
There is method in my madness, as I hope you can see from the above.  The half hexagon has a 12cm long side, which is exactly the same width as an infantry unit in column.  I wanted a base that would fit the rear of a unit, but which would still be visually identifiable as a command stand.
This is the same unit viewed from the front: Huscarls with Harold in personal attendance.

Friday 1 March 2013

On the Painting Tray: March 2013

After the marathon of almost 200 Scutarii, the next lot lined up will seem almost a relaxation by comparison: command bases for Hastings.  There's a base of five figures for Harold Godwinson, then one of four and one of three for his brothers.  For the Normans (all mounted), there will be a base of five for William the Lucky Bastard, one of four for his peace-loving brother Odo, aka the Bishop with the enormous club, and two bases of three figures for the lesser commanders, one of which will be Bretons.  So that's twelve foot and 15 mounted, a reasonable number to paint in a couple of weeks (the next trial of the game is on March 19th), especially since the Saxons are almost finished already.  In fact, I might be able to put photos on the blog sometime this weekend - it has to be said that those Little Big Men banners are lovely.  I also need to rebase 120 Norman infantry figures for the same battle.  Anything I manage later in the month will be a bonus - commanders for Chalons will be next on the list...