Saturday 25 June 2011

The Last of the Persians?

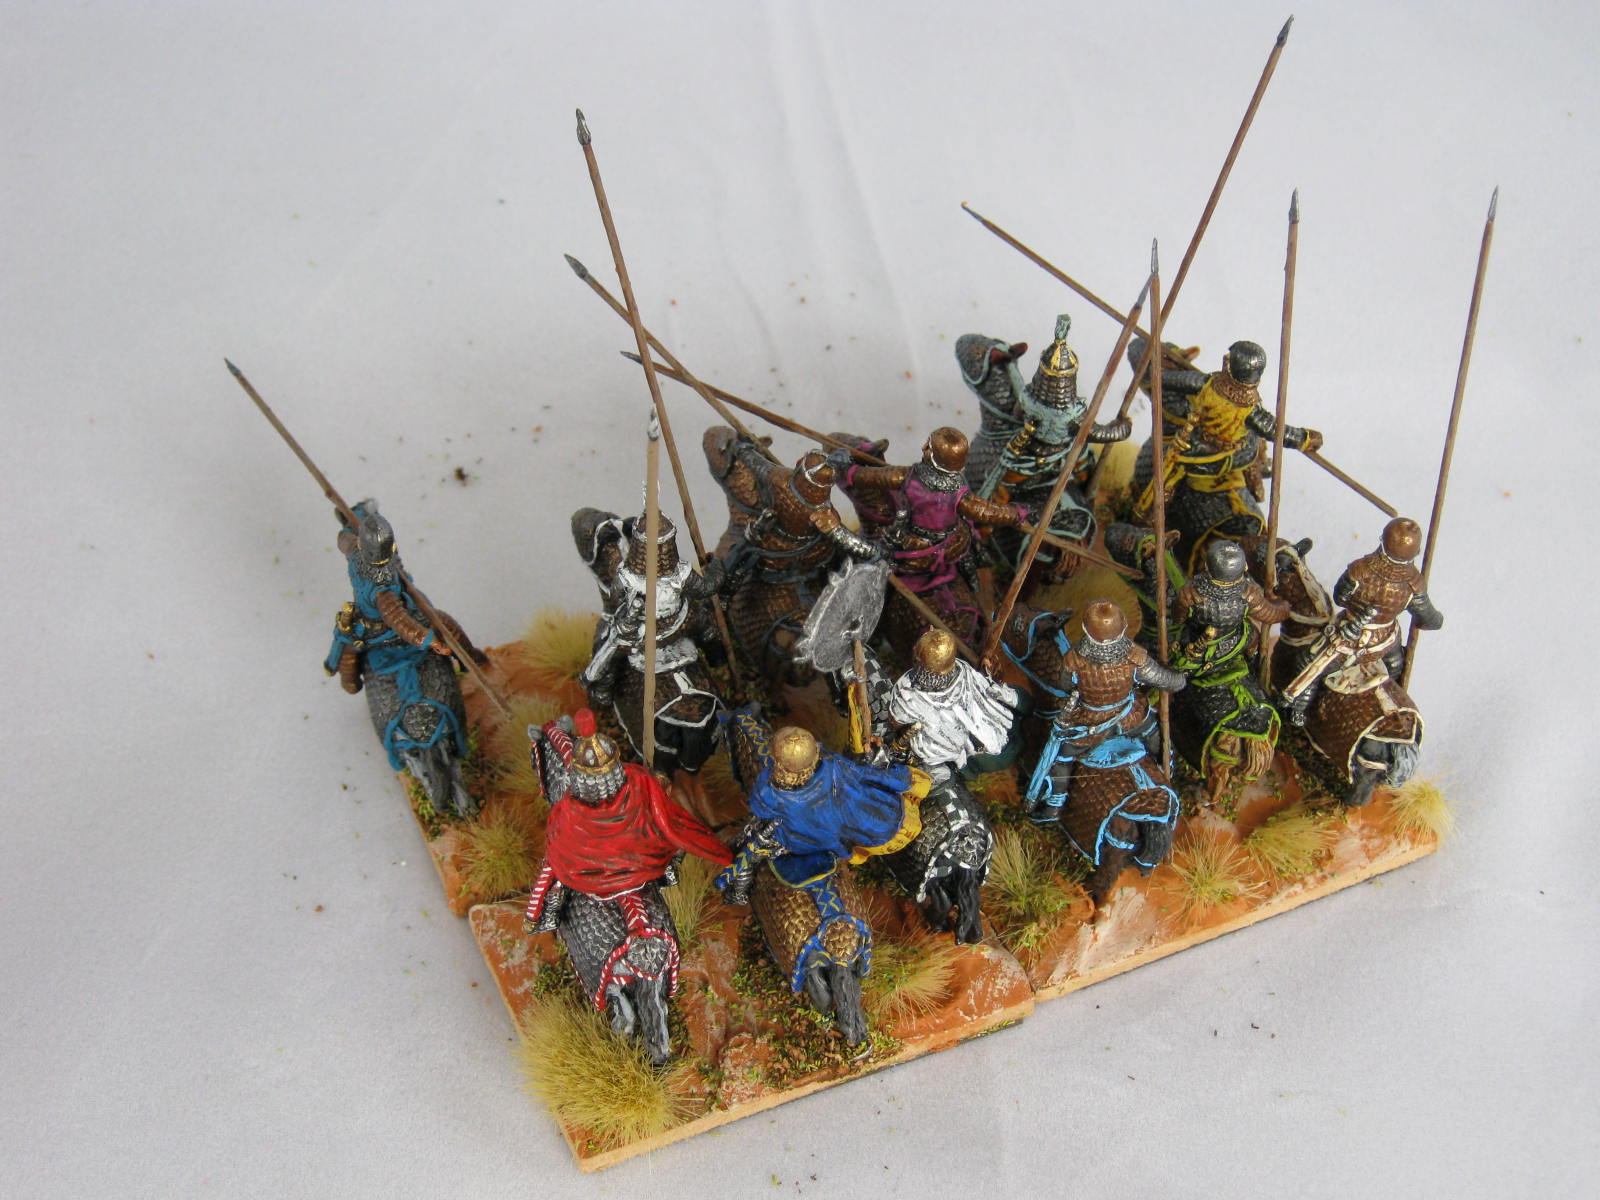
The rump of the Persian loyalists have been reduced to one province in our campaign.  This is due to a combination of rebellions and massive Macedonian attacks.  Now, however, they reach out from their bolt-hole in Parthia to regain the Persian region itself.  We used Bactrian Greeks for the attack, and Seleucids for the defenders.  Deployment plan:
The field is relatively open, with a low hill favouring each army.  The Seleucids are in red,chosen and deployed by Simon.  From the top left as you look at it:
  • Right wing command (Billy): a large unit of 20 Companion elite heavy lancers; two units of 8 Light Cavalry with javelins; and two units of 2 elephants, each screened by 12 Peltasts.  Out front are 10 skirmish archers.
  • Centre (Paul): a powerful phalanx composed of five 32-figure units, each deployed in four ranks.  The cream of the foot is stationed towards their right (the Argyraspides) followed by two veteran units and two standard units.  10 skirmish archers provide a screen.
  • Left wing command (Simon): two units of 2 scythed chariots, with two units of 8 Skythian horse archers in support.  10 skirmish archers at the front.
I built the invading army, and Gordon deployed it.  From the left:
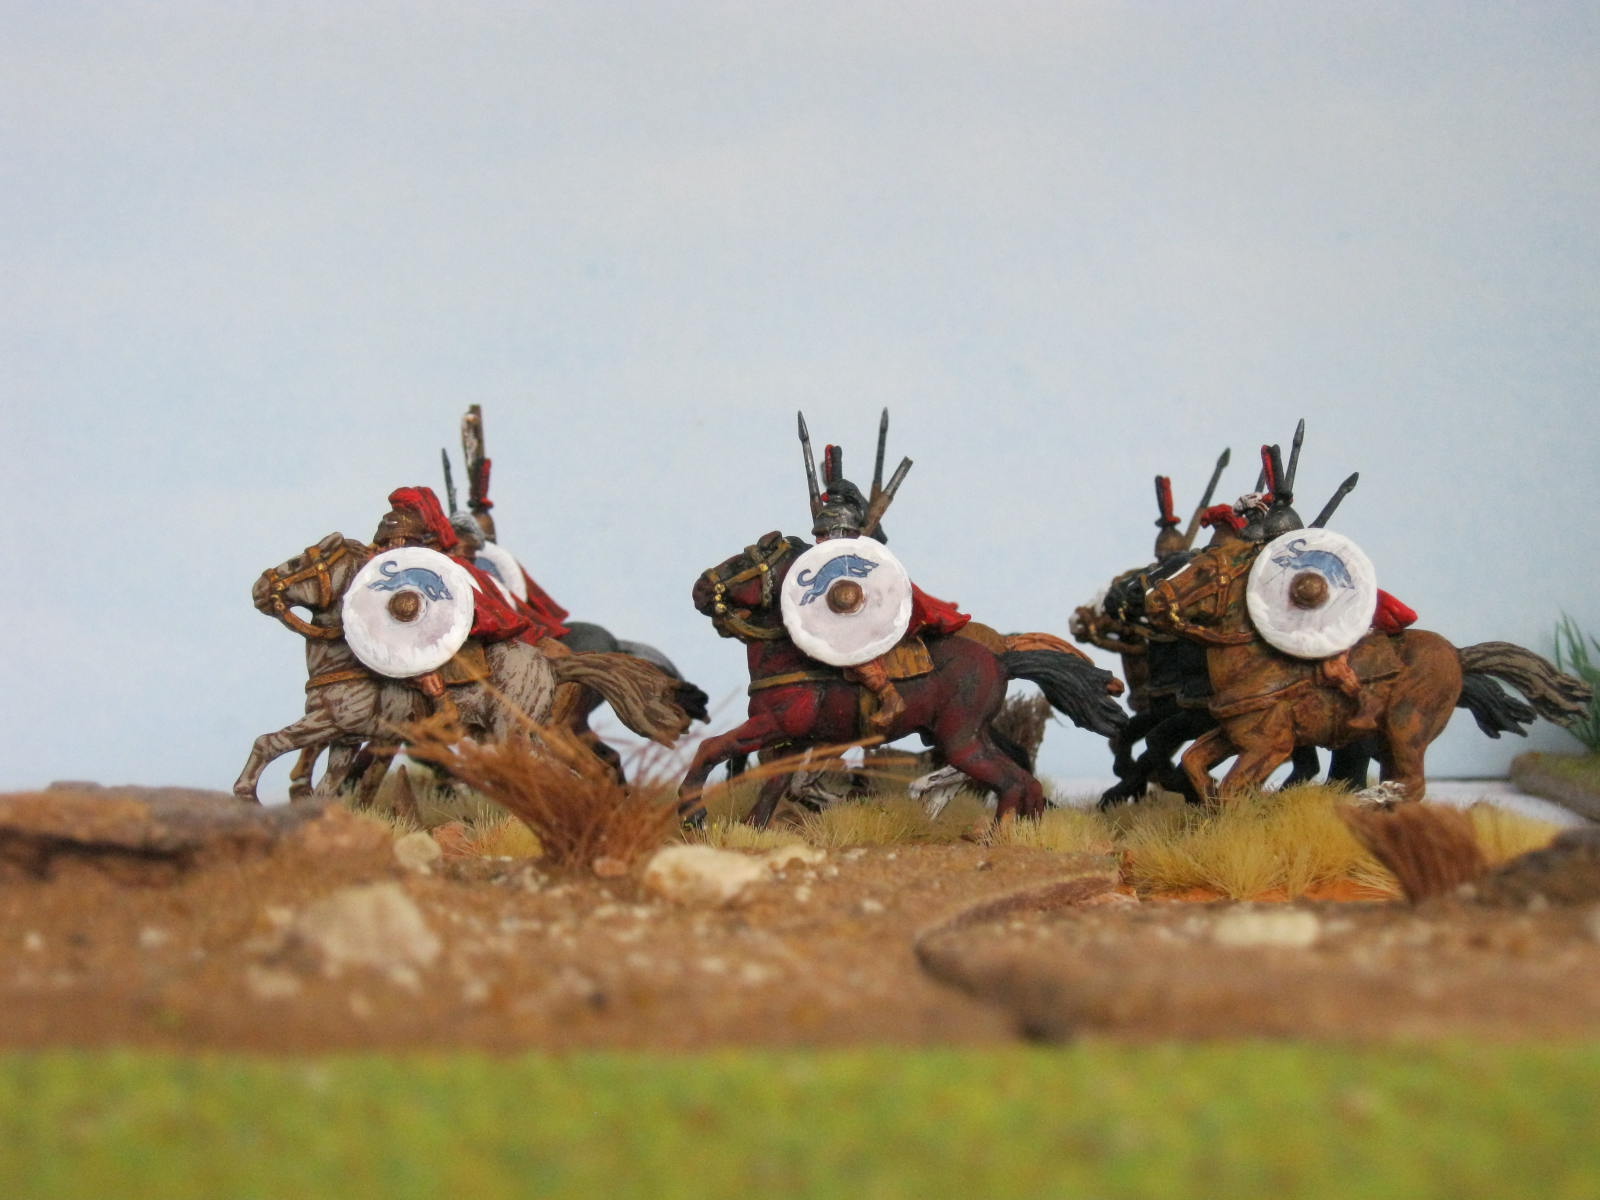
  • Left wing command (Gordon): a powerful mounted force with some supporting light infantry.  There are two units of 8 Arachosian horse archers; two units of 12 Peltasts; a unit of 18 Persian medium horse; 2 elephants; 12 Companions; and 10 skirmish javelinmen.
  • Centre: the phalanx.  Not as strong as the Seleucids, we have six units of 24 standard pikemen (3 ranks), with 10 javelins out front.  Gordon and I share this command.
  • Right wing (me): a mirror image of Gordon's mounted force.
Gordon devised his deployment with the intention of advancing one or both cavalry wings, depending on the opposition.  The single unit of Companions is intended to swing into the centre behind the advance to threaten the flanks of the enemy foot.  As it turns out, it looks as though he will have his work cut out for him against the large unit of enemy lancers.  So it's up to me to carry out the plan...
Above is a shot of the mass of the two armies at deployment.  Taken from my usual post on the right of the invading army.  Note the powerful mass of the central Seleucid phalanx on the hill to the right of the photo.
Both sides advance in the centre.  We occupy the hill that favours us (in the foreground of the photo above) and the strong Seleucid infantry advances towards us.  And we thought we were the attackers!  Actually, it makes sense, because they can obviously see their relative central strength, and weak wings.  Their intent will be to crush our centre before we turn the flanks.

Simon throws his scythed chariots forward in an attempt to disrupt my mounted troops.  I respond by moving my horse archers towards the open flank, thus uncovering my peltasts.  They should be able to deal with the chariots, I think.

Unfortunately for Simon, my javelinmen prove to be especially adept at shooting chariots - four hits in one go on one of them.  This reduces it to one-third strength before it has even charged.

Meanwhile, the mounted forces close on Gordon's flank.

More into the centre, Gordon manages to squeeze some phalangites past the end of the enemy foot.  By threatening to turn their line here, he will force the enemy to commit troops at this point instead of sending them to reinforce the struggle on the wing.

The Seleucid phalanx continues its remorseless advance.  We hold our rightmost phalanx unit back a little so as to draw the end of their line further forward - this is to help with the intended attack on their flank in a few turns' time.  On the right of the shot above you can just see the chariots charging into my peltasts.

The forces on my wing at the same time.  I managed to get the horse archers out of the way of the chariots, but this has cost my main force some time.  The Companions in particular are still way out on the extreme flank of the entire army.

However, my peltasts are able to deal quite handily with the scythed chariots.  They easily dispose of the unit that was badly damaged by the prior shooting.

In the meantime, there is a great deal of confused fighting at the link between our phalanx and Gordon's wing.  In the photo above, you will see the endmost unit of the phalanx, which Gordon has pushed forward as aggressively as he can.  It's on its own, for the moment at least, but it is cramping the style of several enemy units.

In towards the centre, the phalanxes are about to clash on the hill.  Will the height advantage cancel out the enemy's weight?

My troops press forward; the Companions begin their move into the centre as the enemy phalanx continues to advance.

The struggle is on for the hill.

With the chariots gone, the flank of the Seleucid phalanx is now hanging in the air, right in front of my Companions.  Only half a dozen skirmishers stand in my way.

In the meantime, I've pressed up against the enemy horse archers with the rest of my forces.  This part of the field is really a sideshow, though.

In go the Companions.  The brave enemy skirmishers have inflicted some hits on me, but they are not enough.

The first phalanx is destroyed, and I line up to go for the second.  Our troops on the hill are wavering, though.

They just hold out long enough for the Companions to complete their charge, taking out another phalanx in the process.  The combination of this attack plus the stripping of both enemy wings means that they reach their breakpoint before they can finish off our phalanxes on the hill.
Gordon's plan worked well, so there's life in the old empire yet.  Next up: The Ptolemies of Egypt attempt to extend their gains by striking northwards from Syria.  We rolled randomly to see where they attack, and it turns out to be Armenia.  If successful, this will split the Macedonians in two, isolating their troops in Mesopotamia from the rest of their empire.  It would also mean that the Egyptian successors would achieve more than they ever did in history.  It will be well into August before this gets played, though - holiday time beckons.

Sunday 19 June 2011

25mm Parthian Cataphracts

Just finished these for Willie at the club.  They are Navigator Miniatures, which you can get from Magister Militum.  They are very neat figures and well detailed, although with the occasional annoying bit of flashing.  Nothing that can't be solved with the craft knife, though.
I've tried to make the command figures stand out by using slightly brighter metallics.
I also put extra work into the borders for the command figures.
Not too much detail, though, because there isn't really all that much space.
Having said that, the cloaks help.
Front shot of the command.  I painted the standard to represent the sun, moon and stars against the backdrop of night.
It's my attempt at something Zoroastrian - the triumph of life and light over the darkness.  Or something like that...
I varied the cloaks a little.
I also mixed up the metallic colours to make them a bit more interesting.  There's a lot of armour on these figures!
This is how they will look in battle.  I used pliers to shift the arms on the guys with vertical spears.  They came as one-handed on the horizontal, so with the very long spears Willie wanted there would be issues with snapping off once they start to be handled.  The guys thrusting two-handed are safer, so I left those alone.  Willie wanted them to be left slightly shiny because he likes the look.
Life in July is going to be very busy, so I probably won't be able to hand this unit over before Claymore in August.  I think I'll give it pride of place at the forefront of the right wing Cataphracts in the Seleucid army - may it perform well!  I'm kind of assuming that Willie will want to reprise his role as Antiochus after the drubbing the Romans dished out when we played the battle just before the New Year.  There's also a general figure wearing a lion pelt, so once he's done he can join in as the great man himself.

Wednesday 15 June 2011

Empire Campaign Turn 11: 250-240 BC

This is the first turn after the midpoint victory calculation.  We have increased the major powers from four to six, adding Ptolemaic Egypt and India.  They can attack other provinces, but they don't accrue Victory Points.  We did this to add to the game's utility as a battle generator for Tuesday nights at the club.  Events in this turn led to a whole load of battles, in which only the Ptolemies of Egypt succeeded.  They now control Syria too.  The campaign map now looks like this:
The panorama image came out a bit squinty, but it serves well enough.  The random event for the start of Turn 12 sees Bactria rebelling against the Persians again.  First to go in this turn will be Persia, and they attack out from Parthia into Persia proper.  We'll use Bactrian Greek for them and Seleucids for the defence.

1st Punic War battle in Sicily

The Romans attack the Carthaginians in Sicily:
The Carthaginians (in blue at the top of the map) set up to receive the legions.  The Carthaginian right is open, and their left is located in an area of rolling terrain (low hills).  Simon constructed their army, which Gordon deployed.  Here are their commands, from left to right as you look at it:
  • Cavalry right wing.  Three units of 8 Numidians, one unit of 12 Gallic Medium Horse and one unit of 12 Punic Heavy Cavalry.  8 Slingers out front.  Paul in command.
  • Infantry centre.  Two Gallic Warbands of 24 figures deployed shallow, followed up by two units of 24 Spanish, also shallow.  Next in is a unit of 24 Punic heavy infantry in 3 ranks.  Ready to move onto the hill are two units of 24 Libyan medium infantry, again in three ranks.  Held back at the end of the line is the Sacred Band: 16 elite heavy infantry.  Large numbers of skirmish javelinmen are spread across the front (six units, each of 8 figures).  Gordon in command.
  • Cavalry left wing.  Same composition as the right wing, although deployed slightly differently.  These guys also have an extra unit of 8 javelin skirmishers.  Simon in command.
I used William's standard composition and deployment for the Romans.  Again, from the left:
  • Left wing command (Marco).  A unit of 8 Italian light horse; 18 Latin Equites; and 24 Italian foot.  12 Cretan archers out front.  The gaps between the units are deliberate - units test if they see heavy-ish friendlies routing within 4". 
  • Centre (Billy).  The usual four legions, two Latin and two Roman.  Each comprises 10 Velites; 16 Heavy Hastati; 16 Heavy Principes with pila; and 8 Elite Triarii.
  • Me on the right: pretty much the same as Marco.
So both sides are going for the usual: can the polyglot Carthaginian infantry hold the Roman centre long enough for the polyglot cavalry to envelop one or both flanks.  It's too early for the Romans to have any fancy tricks or deployments a la Scipio.

The shot above is taken from my position on the Roman right.  It shows the relative positions of the rest of the field as the armies advance.

This is what comes thundering over the hill towards me.

On our far left flank, Marco's troops also feel somewhat outnumbered.

Marco angles his Italian infantry to try to hold off the enemy from the flanks of the legions for as long as possible.  Billy sends Latin Triarii wide to help out.

On our right, I am able to act more aggressively with my Italian infantry, due to there being a gap between elements of the enemy army.  Basically, as their cavalry rush forward, a space opens up between them and the Sacred Band, who are trailing behind.  I throw caution aside and shove the Italians forward as fast as I can, while angling my other troops to try to hold this flank for as long as I can.

On our left, Marco has his work cut out.  His Italians are facing the Gauls and there are plenty of reinforcements to wade in if the Gauls don't do the job.

Meanwhile, the other unit of Gauls finds the Latin legionaries in poor form.  The marble behind the unit in the centre of the photograph denotes a full-blown enemy impetus attack as the Gauls charge into the Latin Hastati to impressive effect.  If this continues, I think, the Carthaginians are going to win the battle here.

Fortunately for Rome, the initial contact on my wing goes well.  My Italian infantry manage to get in the way of at least some of the enemy cavalry, giving me hope that this flank might not be turned.  By advancing the foot so aggressively, I've managed to even up the odds here.

Our centre left is now under extreme pressure.  The Latin Hastati have been wiped out, and it looks as though the Italians are going to follow suit.

As indeed happens.  Somehow, though, Marco's Latin Equites have managed to hold up almost the entire enemy cavalry force, so they won't be able to exploit for a while.

My Italians have destroyed some of the enemy cavalry.  Leaving the Equites to their fate, I start to move them in towards the enemy infantry centre.  Just in time too, because the contact here has not gone in our favour - the rightmost Latin Hastati are already gone.  But at least the Sacred Band is in a vulnerable position at the end of the enemy line - they're the guys with white shields in the photo above.

Marco's troops have finally given their all, and the Punic heavies start to move into the centre to flank the legions.

But it's not all over yet.  The central legions are beginning to overwhelm the enemy centre.  Romans are good at this.

At our centre right, the Carthaginians throw their troops forward before my Italians can join in.  You can just see them at the extreme right of the shot above.


The central Romans crush the enemy to their front.  Three enemy units, including the Sacred Band, are destroyed in one turn.
But it is not quite enough; the leftmost Latin legion is destroyed and the left Roman legion is hit in the flank.  As soon as the Gauls had their initial success, we knew this was where they would win  the battle.  In the end, though, it was a lot closer than I for one had thought it would be - Carthage won by one figure!

Monday 6 June 2011

Unarmoured Roman Cavalry

These guys are Crusader Miniatures unarmoured Roman cavalry (28mm):
I wanted some of these to use as light cavalry for my Republican Roman army.
The horses are larger than the 1st Corps figures I used for the rest of the army, so I've based them on 5cm deep MDF rather than the usual 4cm.
This also gave me the space to pack a lot of stuff onto the bases.
As with the heavier cavalry, the shield designs are by Little Big Men, for Aventine Velites.  I gave them the same design to make them fit in well with the heavies.
I found these quite relaxing to paint, especially after all those legionaries.
Here they are charging across the plains.
And here they are, running away.  Probably after meeting some of Hannibal's Numidians.
I'm going to do another unit of twelve at one point, with red shields.
I made these guys slightly less regular than the heavies, helped by the different helmet crests.  I varied the helmet colours as well.
Crusader makes some useful figure types that are otherwise difficult to come by.  As well as these, they have Leves without shields for the earlier Camillan army's skirmishers.  If I were ever to paint an army from that period, I'd use these cavalry, ranked more closely.  But for the moment, I've had rather enough of Romans...