Yesterday I was able take part in the first of Willie's two-day monster game of Leipzig, roughly covering the historical action on October 18th. Mark came up with the map and rough order of battle, and I was tasked with converting them to Shako II:
The first photo looks to the allied left from behind their lines. Mostly Austrians over there, with a large Prussian corps in the immediate foreground. I supplied the Russians as always...
Speaking of which. The centre left of the allied army was composed of two Russian corps, with the infantry and cavalry of the Russian Imperial Guard off table immediately behind them, along with Mark's lovely freshly painted Prussian foot guards.
In the same rough area were some Austrians and Zeithen's Prussian brigade. The French centre comprised the cream of the guard infantry and Young Guard, with the guard cavalry in reserve behind them. Nasty.
Then there was a bit of a gap as you move along to the allied right. In the distance at the top centre of the table was Reynier's French/Saxon corps.
The final deployment shot shows the right wing of the allied army, which is where I was commanding, mainly because this is the best part of the table from which to take photos. To the left of the picture is Doctorow's Russian Corps, then a Prussian Corps with an Austrian Light Division in front, and then Winzingerode's Russian Corps. So I had three infantry Corps plus a separate division - a rather pleasant number of troops to command...
Above is a full length table shot from my perspective. The plan was simple: hold in the centre, because we were fully expecting the Young Guard to mount an attack; and attack ourselves on the wings, where we had some preponderance.
Above is the start of the action at our extreme left, with the medieval walls of Leipzig visible in the distance. The Austrian advance here stalled.
In the centre, for no discernible reason, the two Russian corps decided to attack the Young Guard and the Old Guard, who were defending buildings. Definitely not what was agreed...
A gratuitous shot of a windmill. Willie likes windmills.
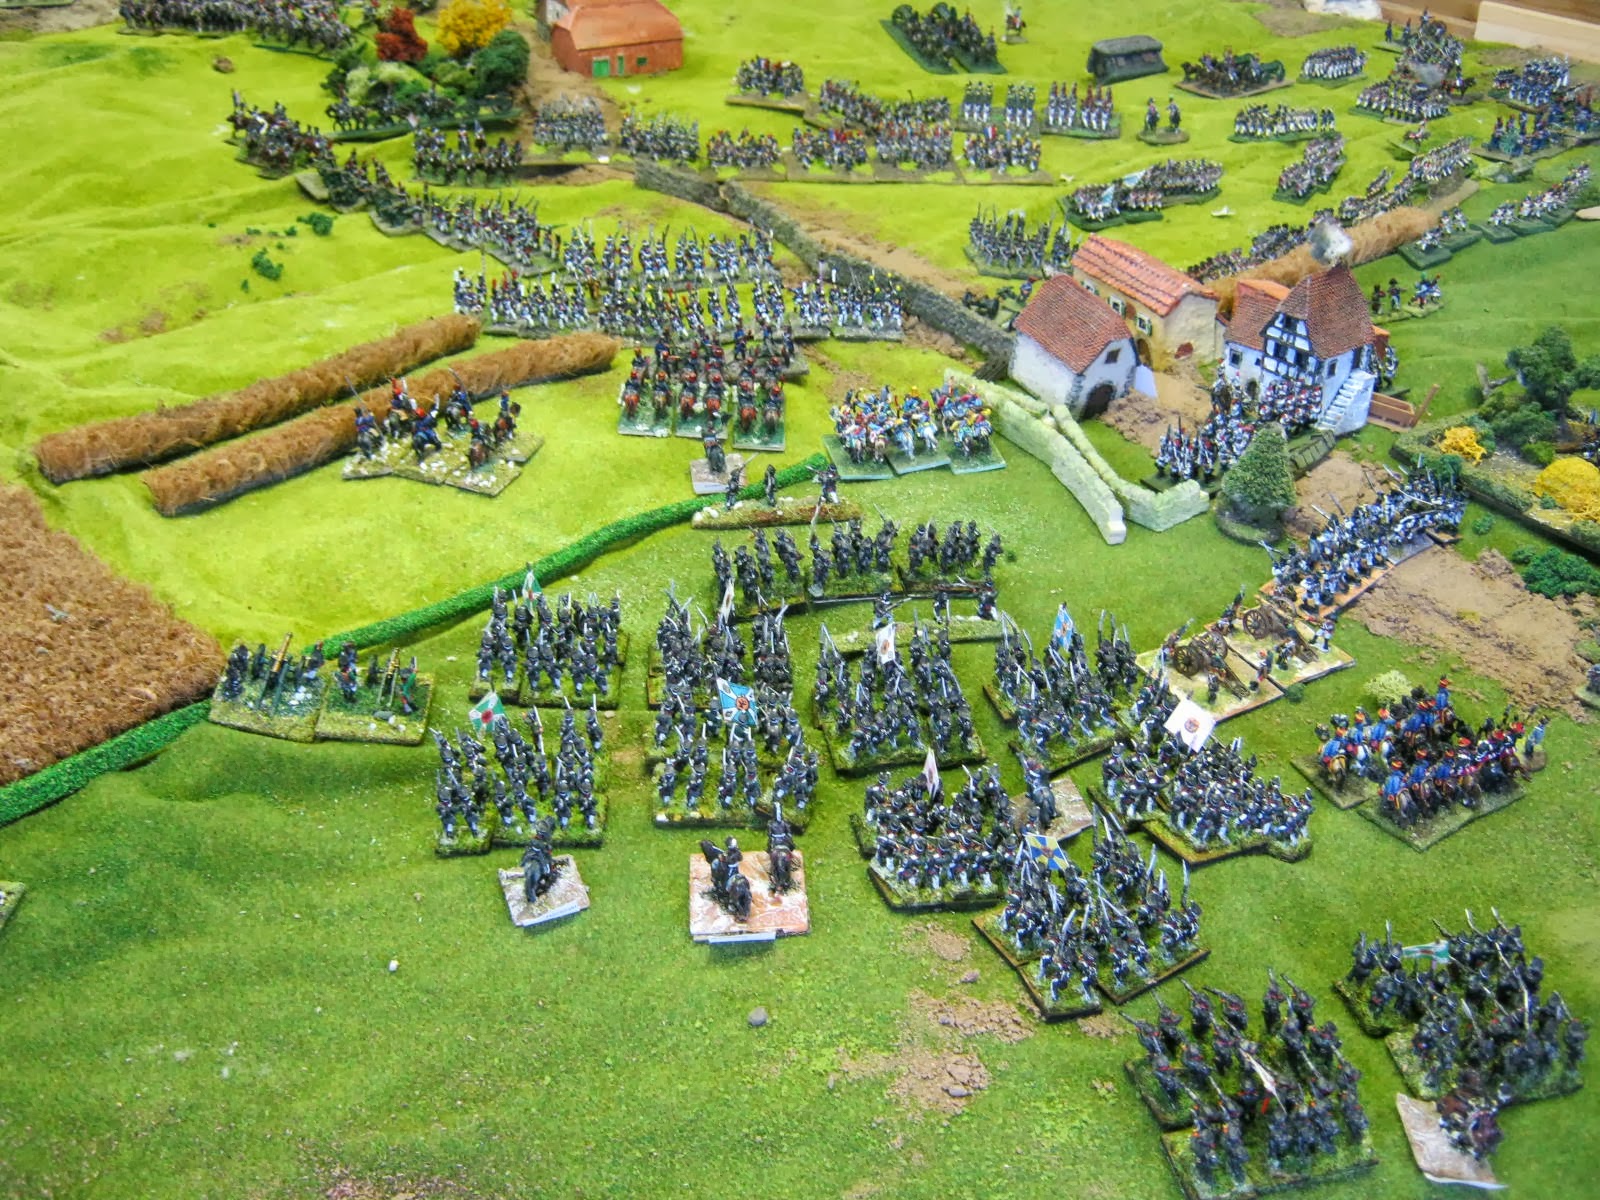
Back over on my wing, the only bit of the battle that mattered to me. The French and Saxons occupy the town facing my advancing Prussians and Austrians, and establish a defensive line. There is, however, still a large gap to their right (left as you look at it).
Another shot of the table lengthwise. My troops pour forward in the foreground. I could never truly visualise Leipzig because the battle is so big, but playing this game made me realise why it turned out the way it did. Effectively, off table to my right is Blucher, and the Saxon defection in this sector makes a lot of sense when you see what I was going in with, plus the threat of Old Vorwarts himself joining in. Bernadotte was in the same area, posturing effortlessly and successfully preserving his precious Swedes. I actually have these, and eagle-eyed observers might see them standing in as proxy. This was a large game, with over 9,000 figures on the table, and we kind of ran out of French...

On the left of my wing, Doctorow advanced with Cossacks (and Bashkirs!) strung out in front. He told them the town had booze, when in fact there was an enemy foot battery that needed masking. Cossacks don't like canister, but at least they drew the fire away from the Russian infantry columns behind them. To the left of the photo are Doctorow's corps artillery reserves - a full foot battery and a position battery. Nice.
Slightly to the right of the previous shot, my arrowhead is pointing straight down that road to the heart of the French position. I just have to destroy a couple of corps first,.
The right of my advance, with Prussians to the left and Russians in the foreground and right. One of my French opponents (Hugh) congratulated my Russians on their pretty parade ground precision. His artillery then obliterated my lead regiment of Uhlans. They're the guys with the yellow flags in the vanguard of the rightmost part of my advance. They didn't last long...
At this point I took a step back for a full length shot. All I could hear in the distance was the destruction of loads of Austrians and Prussians, and the complete disintegration of two Russian infantry corps. Up to me, then?
Oh well, might as well grind my way forward with boring but deadly efficiency. After all, I am playing Russians and Prussians. In the centre of the photo above, Stroganov's advance division has pretty much lost most of its sacrificial Cossacks, and through the smoke he sends in his Uhlans to silence the enemy battery.
A close-up of this action. Note Willie's wild and colourful Bashkirs to the bottom right of this photo, cunningly positioned by Stroganov (me!) to absorb the damage from an enemy horse battery.
Above is a shot of the rest of the action on my flank. At the centre left of the photo the Austrian line are in position to attack the southern half of the town here. I can't even remember what it was called, but it sure was pretty. At the top of the photo my jager battalions (real Russian jagers) have broken into skirmish formation to mask the advance of Winzingerode's infantry columns. Boring and efficient, that's me.
Off to my left, the Uhlans have successfully destroyed the enemy battery and retired, blown. Stroganov's division is now demoralised due to the losses it has been taking.
My Austrians are in a particularly vicious mood, severely hammering the enemy holding the southern part of the village with their first volley. I'm having a good time here, and I'm also completely ignoring the cries of defeat emanating from the far end of the battlefield.
At this point we broke for lunch, attempting to salvage some rations from Mirin, Willie's dog. I took advantage of the temporary lull to take a series of shots right around the field, starting from the Austrian on our extreme left. They don't seem to have gone very far. The ones that are still alive, that is...
Moving along, the Frnech Young Guard are having a field day. William was commanding them, and he asked if he would get extra victory points for reaching our table edge.
Those Russians in our centre should be at least 12" further back. They are about to die horribly...
Above, the Prussians are about to feel the full force of the French Guard Cavalry. Oh well, at least most of them aren't coming in my direction.
Having said that, they are about to do a good job of plugging the gap in the French lines.
An angled shot of my wing at this point.
At the bottom left of the photo above you can see Platov's Cossacks sneaking off to my left rear.
This is the first photo from the French perspective. Reynier's corps is in the immediate foreground, with Lauriston's in the distance. Off at the top right you can just see some of the French guard cavalry.
Above is a purely gratuitous shot of the centre of my attack, from the defending viewpoint. I have a lot of weight here.
Moving along the field, across the rear of the French army from their left to right.
The French centre left. They are very happy here.
The French centre right. They are even happier here.
A bit more to the French right. William was right - the Young Guard off in the distance will probably reach our table edge.
The final photo in this sequence shows the French right. Weak, but holding with great effectiveness against everything the Austrians can throw at them. Poniatowski is having a great time.
After lunch, the Russian Foot Guards appear in their serried ranks.
To their left we see the Prussian Foot Guards. Hopefully this lot will stem the tide.
A full length shot. It's an interesting puzzle, this battle - lots of congested vicious combat at our left and in the centre, and loads of room for manoeuvre on my flank.
Back into the swing of it on my wing. My Austrian line battalion destroys the enemy facing them with grim efficiency - they fought to the last man.
I start to break through at my extreme right. My Uhlans have been destroyed, and the second wave is a regiment of Hussars, already damaged by enemy artillery fire. That doesn't deter them, though, as they attack a Saxon horse battery, destroying it and routing the Saxon light cavalry who tried to help - they then routed on morale! My Hussars are actually behind the enemy at this point now, before they rally back for a well earned rest.
On my left, my position battery sees off an enemy light cavalry charge, and then combines fire with the foot battery to devastate the first regiment of enemy horse coming in from the centre. By chance, I have a sort of grand battery here, and it is telling.
My Prussians are tasting success too, as the Line infantry start to destroy the opposition. There used to be a battalion of French in the centre of the photo beside the village.
A final shot of my extreme right as my infantry destroy the enemy artillery. I have to leave at this point, but this wing is in good shape and making inroads.
I've never commanded Prussians before, and I naturally ran them almost like Russians. The combination was lethal, it has to be said. The Prussians don't have the veteran Jager regiments that the Russians have in this period, and their artillery isn't as good, but the combination of line and "reserve" line in the front of the attack, with Landwehr and cavalry behind them is very potent. This whole area of the enemy army is in danger of being rolled up and destroyed, which should help make up for the anguished screams emanating from what's left of the Prussian Guard in the centre of the field...
These monster games are great fun, and I'm glad to contribute. They are very rarely ever fully resolved, which is a shame, but some of the others are playing on today. I'm learning a great deal about the history of this period, though, as well as valuable lessons on what to do if I ever get the chance to run one of these myself. Special thanks are due to Dave for coming up from York, and Mark for making the trip over from Northern Ireland with the Prussians. Vorwarts!


.jpg)


.jpg)


.jpg)


.JPG)


Smashing game...sorry I had to miss it. Excellent AAR. I'll revisit it often.
ReplyDeleteWonderful thanks for the report - great to see another Leipzig refight!
ReplyDeleteJust amazing !!!.... as usual. Superb game.
ReplyDeleteMost impressive! Leipzig is the grand-daddy of them all, for sure.
ReplyDeleteStunning game, Paul! 8000 minis, phew...
ReplyDeleteThanks for looking, everyone. I still have no idea what happened on day two - I'll post any photos that come my way.
ReplyDeleteAs noted by someone on The Miniature Page, interesting to see your OOB and map. I have the Osprey volume and candidly not real happy with it. Group in Indiana USA fighting southern portion in June 2014. Probably 3000 28mm on table. I would love to see what you guys did. gbowman@katzkorin.com
ReplyDeleteStunning looking battle!
ReplyDeleteI had no idea what was happening on day one!
ReplyDeleteNow with your explanation it begins to make some sense
Great report and pics, we all had a great day out, heres to the Kriegshut!
Fantastic looking game, most impressive!
ReplyDeleteThanks for commenting, everyone. Glenn is right about the map - we kind of had to fiddle it to make it fit onto a rectangular table, albeit a very large one! Note to self: must follow up on promise to publish OOB and map.
ReplyDeleteSplendid report, thanks
ReplyDeleteCheers, Wil, yours looks amazing!
ReplyDeleteFantastic battle with a great bunch of figures! Thanks for sharing!
ReplyDeleteGreetings
Peter
Brilliant looking game Caliban!
ReplyDeleteI have taken the liberty of posting a link on the 'communal' Wargaming Waterloo 2015 blog that is dedicated to providing links to games of the bicentennial years of the Napoleonic wars.
http://waterloo2015.blogspot.com.au/2013/10/leipzig-day-three.html
What a battle! Thanks for sharing your marvelous pictures
ReplyDeleteRegards
Rafa
Hi Rafa, thanks for looking!
ReplyDeletegood to see my old man out and about and gaming again
ReplyDeleteHi Mark, it's good to hear form you. He was on fine form, it has to be said - Poiatowski gave the French a really hard time on that flank!
ReplyDeleteI'm surprised he didnt play as Napoleon himself! Awesome looking game, looks way too difficult for my tastes though.
ReplyDelete