A Roman army arrives to take possession of the Pergamene Bequest, and finds itself under attack by a loyalist army led by the nobleman Aristonicus. This is the first time our campaign has seen the red tide wash up on the far shores of the Hellespont. I built both army lists and supplied most of the figures.
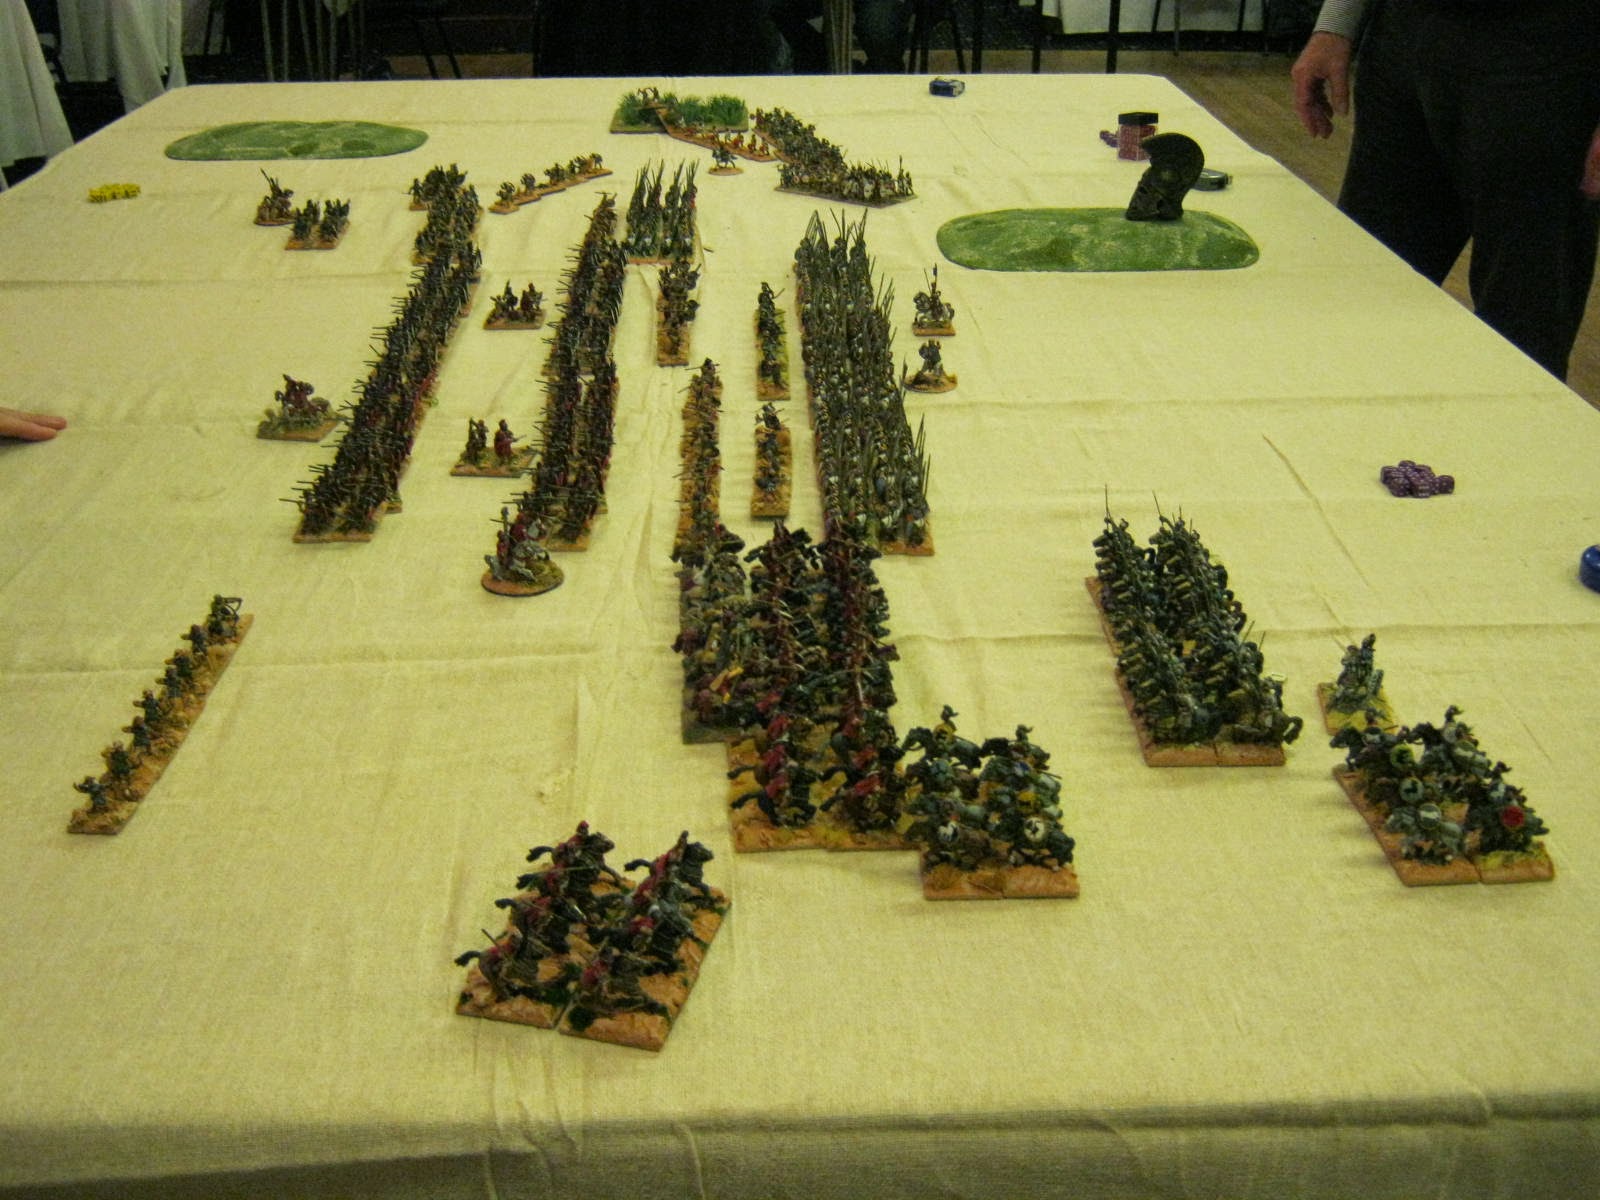
First up is how the Roman right looks to the Pergamene commanders: all of their cavalry is here, along with some skirmishers.
Their centre: two Roman legions to their centre right, and two Socii legions at the centre left, all with velites out front. A familiar sight in the campaign.
Their left flank is covered by auxiliary peltasts, Thracians and Cretan archers. Billy commanded the right half of their army, Gordon the left.
The Pergamene left: cavalry.
A large but mediocre phalanx in the centre.
The Pergamene right - two large units of peltasts and some blank bases to denote a very large unit of thureophoroi. I run the left of the army, and Graham will command the right. He is running late, though, but once he arrives the blanks will be replaced by resplendent wee men.
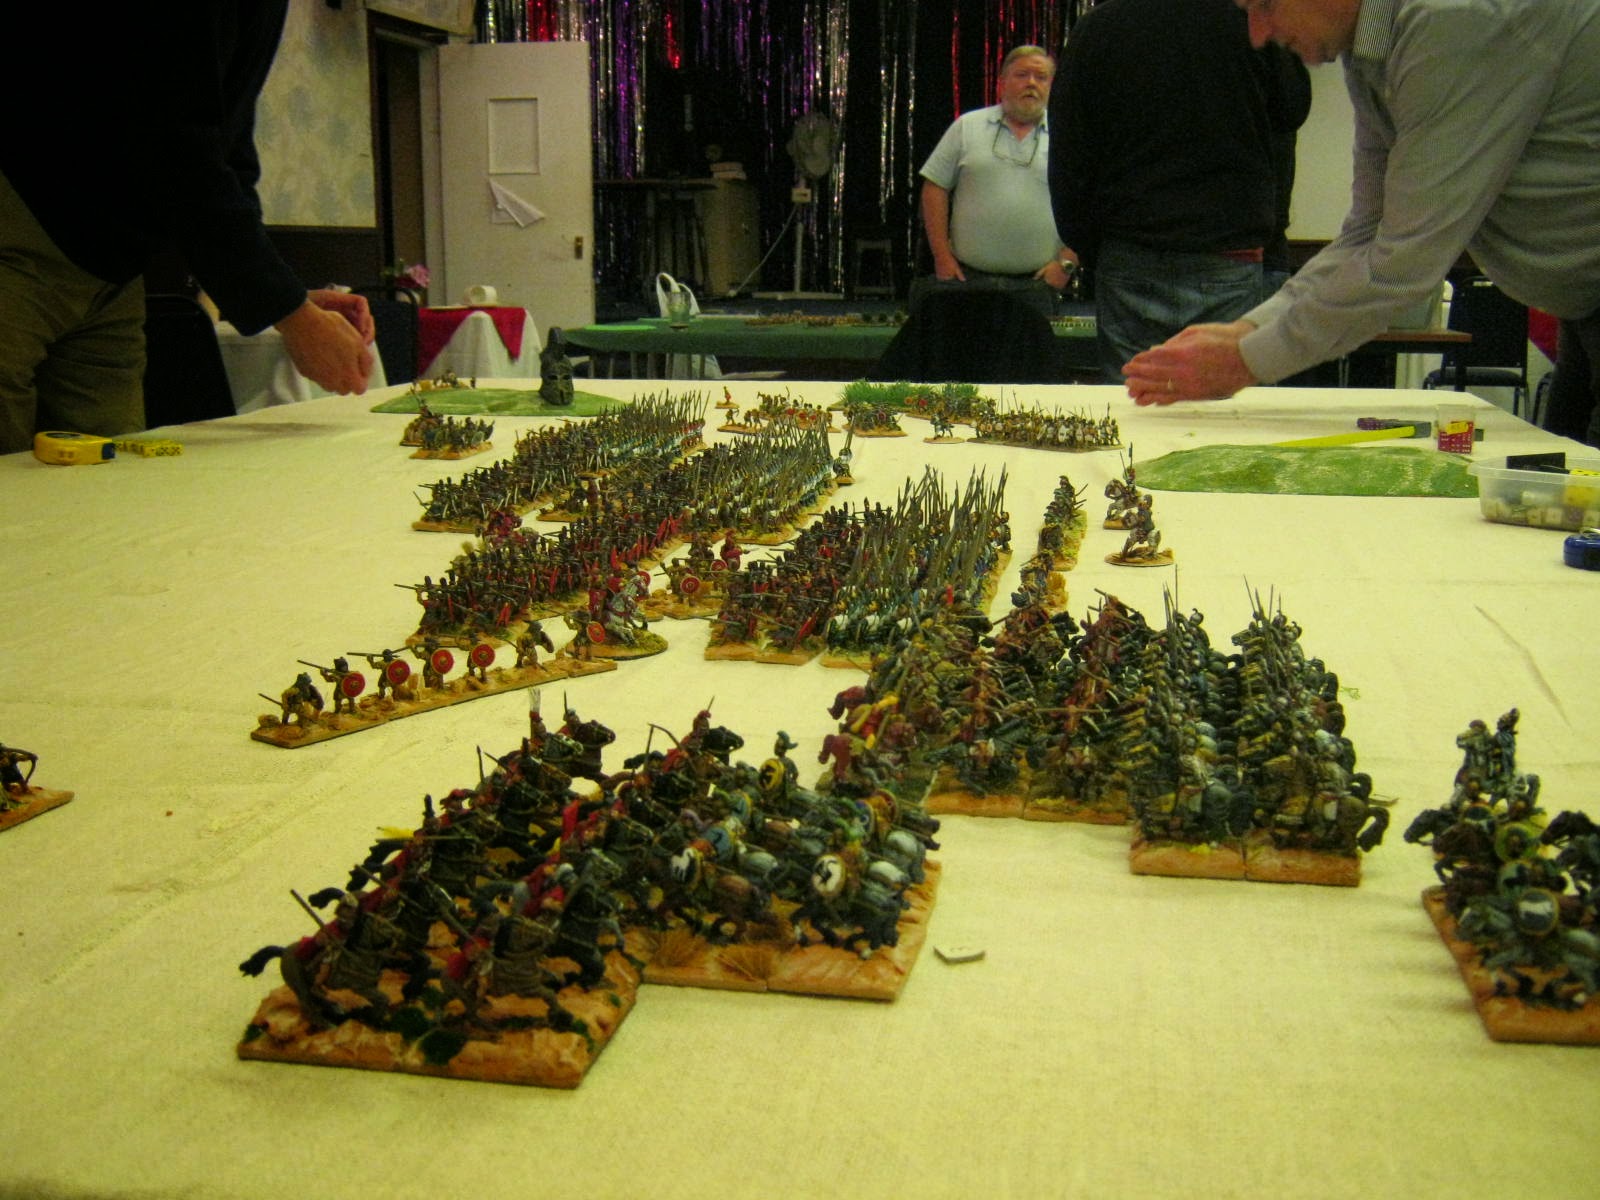
A long sideshot from our left and the Roman right. This is how the armies look after the initial move.
A lower photo of the Romans at this point.
How our lot looks from the same angle.
The battle develops on my wing, the Pergamene left.
The infantry centres close. We have superiority in numbers to our right centre, but Romans are tough. Aristonicus expects to lose, but to give the Romans a hard time in the process.
Graham angles in at our extreme right - the thureophoroi have arrived.
Another side shot of the entire field.
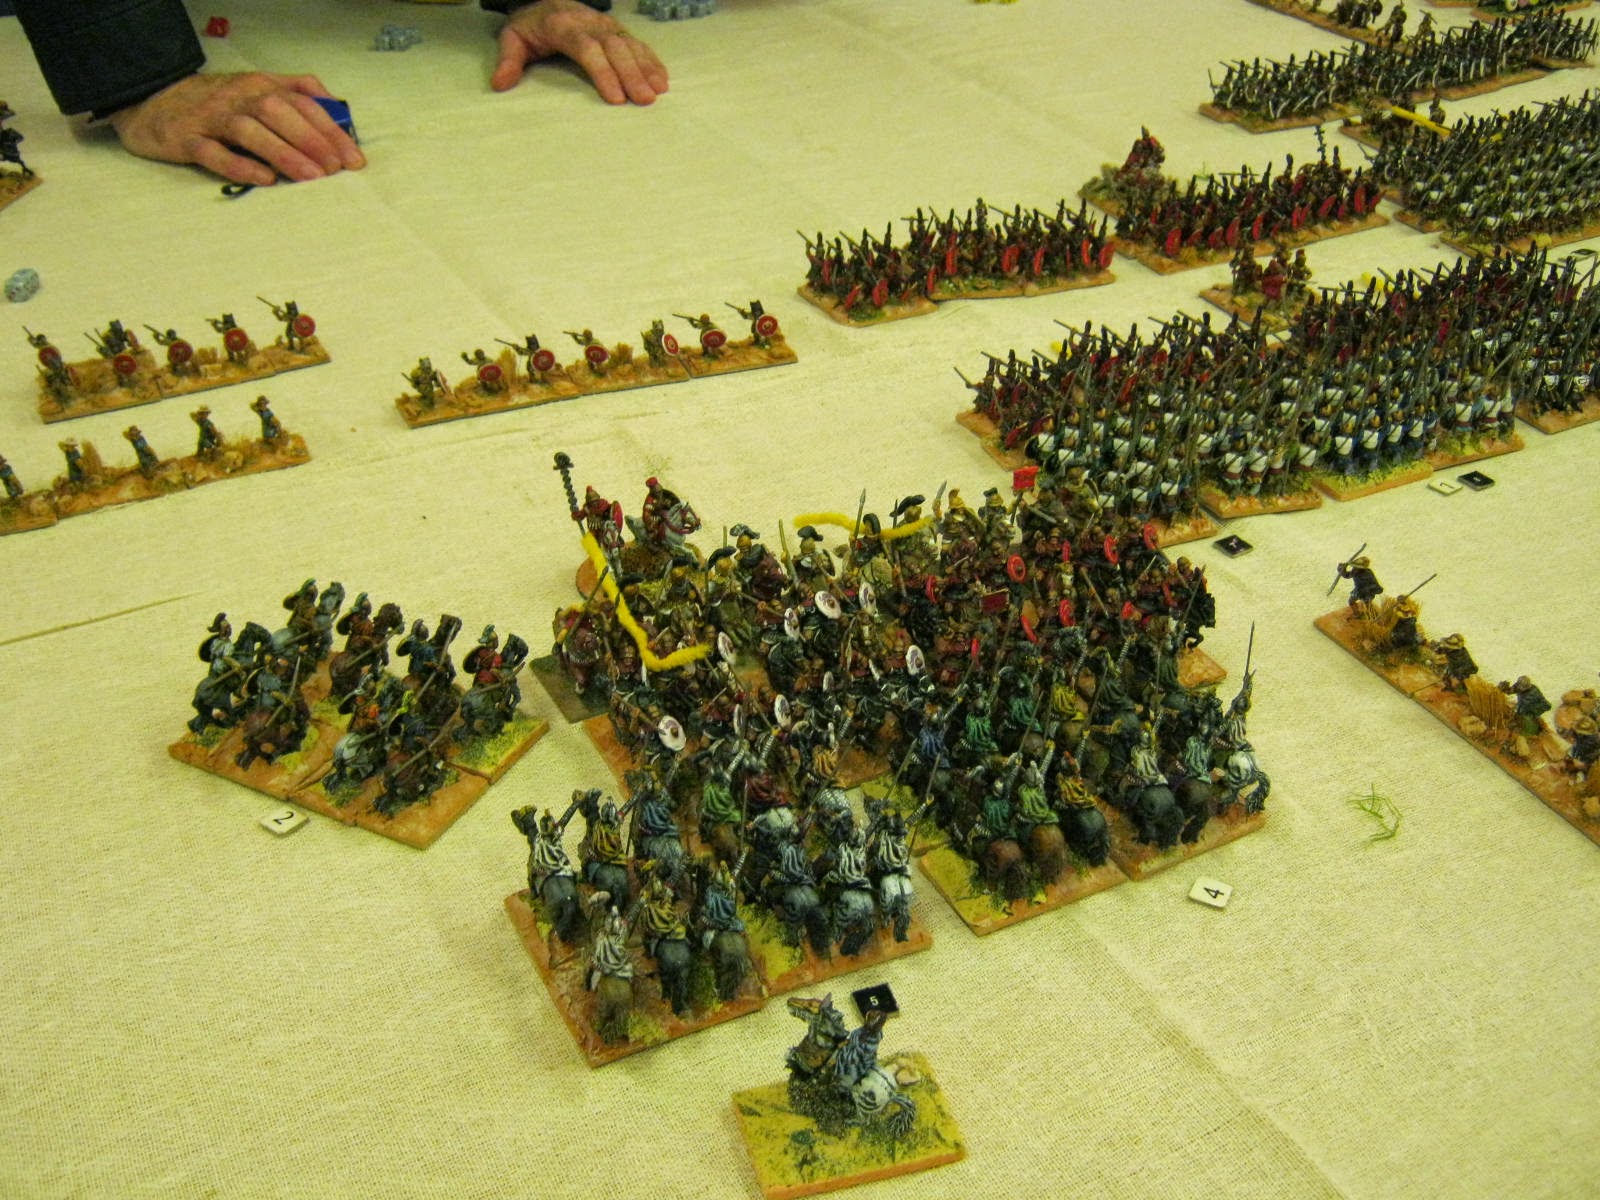
A large cavalry melee.
And two very large infantry melees. The Romans have advanced a bit further forward than their allies.
How it all looks from the side now.
Another low angle shot.
At the other end of the field, the Greek-type auxiliaries have all been chased off and the Pergamene thureophoroi are moving into position.
My cavalry are doing okay, but are taking heavy losses at the same tine.
The phalanxes, meanwhile perform badly. Those legionaries are tough.
The thureophoroi close in on the Latin Hastati.
My cavalry look as though they are about to threaten the Roman flank, but in fact are pretty much exhausted themselves.
Our centre begins to give way.
Our only reasonable success: Graham's thureophoroi.
The Pergamenes collapse without damaging the legions very much, although many of the Hastati were almost broken. After counting up the damage, though, it does indeed turn out that the Romans are not quite able to take the province. A few reinforcements will soon sort that.
1st Dragoon Guards
-
Following closely upon the heels of the Highlanders, a body of British
cavalry trot out from the painting table. These troopers muster out as the
1st Dra...
20 minutes ago


.jpg)


Fantastic looking game Paul!
ReplyDeleteWhat a great looking game. Apologies if you do mention in the post but what Ancients rules are you using please DM? Really into ancients at the moment and your blog has really hit the spot!!
ReplyDeleteThanks for looking, gents. The rules are a pre-publication playtest set of Tactica II. They retain the deceptive simplicity of Tactica, but have more in the way of command rules, unit compositions and army sizes. We like them a lot...
ReplyDeleteGreat looking game and beautiful armies, splendid pictures!
ReplyDelete